WebSockets
General aspects
WebSocket is a communication protocol that operates over HTTP, with an important difference: it allows bidirectional communication.
A regular HTTP call is a "ping-pong", a request that receives a response. In a WebSocket, an HTTP connection is a bridge through which messages are exchanged, and either side (client or server) can take the initiative to send messages.
The video below shows how to connect and exchange messages through a WebSocket using Pororoca.
Creating
You can create a WebSocket connection in a collection or in a folder, by clicking on the Add WebSocket button or by right-clicking in the left panel.
Connection options
The first panel, from left to right, configures the HTTP request that connects the WebSocket to the server.
The headers and authentication can be configured in the same way as for HTTP requests.
In this same panel, the subprotocols and compression options can be defined.
TLS / SSL server certificate verification
By default, Pororoca verifies server SSL / TLS certificates on HTTPS connections, and if there are any validation failures, the request will not go forward.
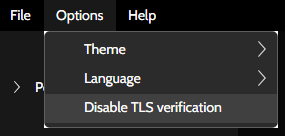
To disable server TLS certificate check, click on the button on the bottom, or go to the top menu, Options, and select Disable TLS verification.

Client messages
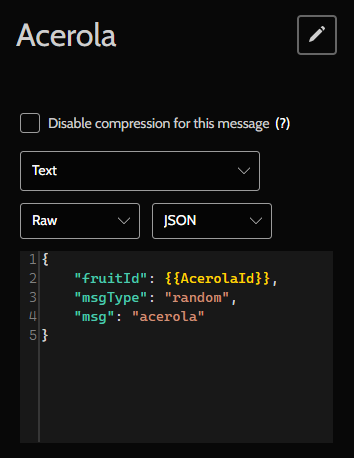
The client messages are the ones that you can send to the server. To create a new client message, click on the "+" button in the middle panel, or right-click the WebSocket in the left panel, and select New client message.
There are three types of WebSocket messages: text, binary and closing message. In Pororoca, the content of the message can be passed as text (raw) or as a file.
Just like in HTTP requests, you can use variables in text or to specify the file path.

Exchanging messages
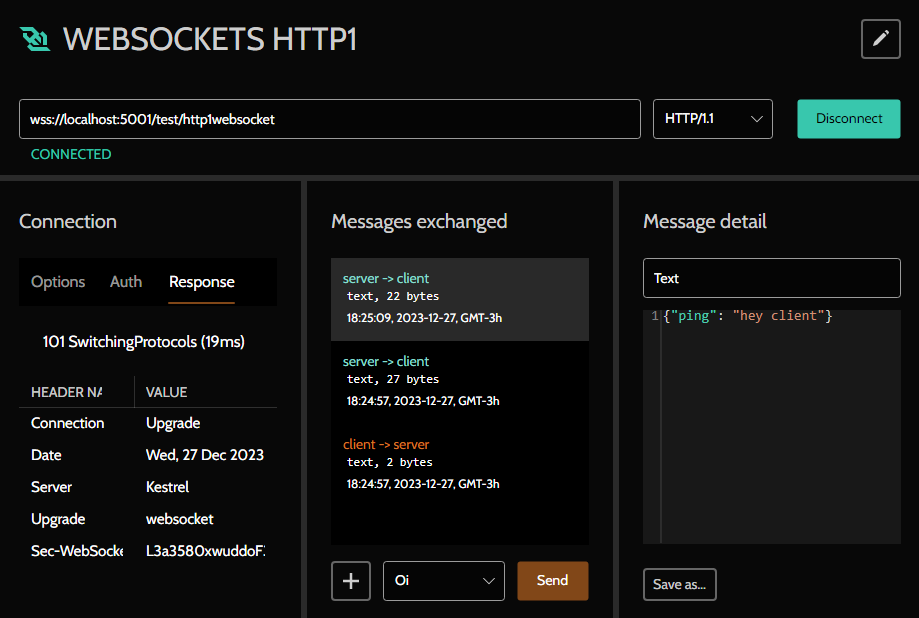
After clicking on the Connect button or pressing F5, the icon of the WebSocket will become coloured, indicating that it is connected.
The left panel will show, if successful, the response status code and headers; if failed, will show the exception that happened.
The middle panel shows the conversation between the client and server.
To see a message's details, click on it and its content will appear on the right panel. You can save this message to a file, by clicking on the Save as… button or pressing F9.
